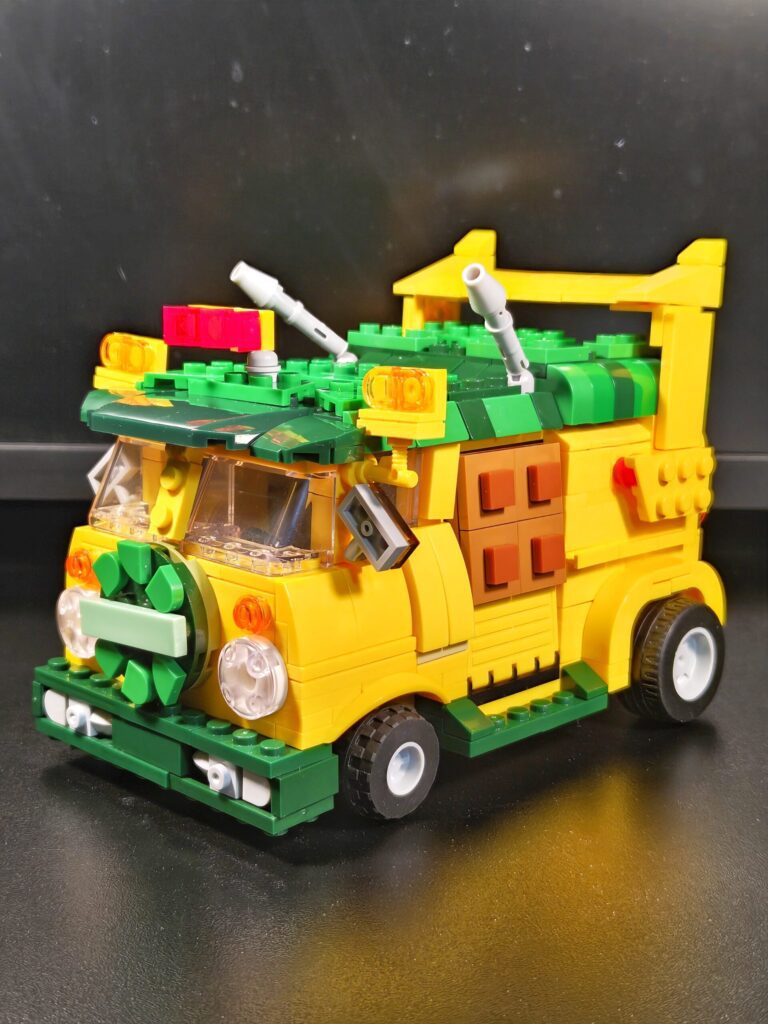
Modding the TMNT Mutant Mayhem Pizza Fire Delivery Van
👁 10 views
I recently shared a post about the custom Party Wagon I created for my Mezco Turtles. As promised, here’s the mod process. By the way, apologies for the inconsistent photos. I initially had no plans of sharing this on the blog and honestly, I got so focused in the build that I forgot to take proper shots along the way. hehe My bad, folks! This is also my first time creating a tutorial, so please bear with me.
Parts Inventory
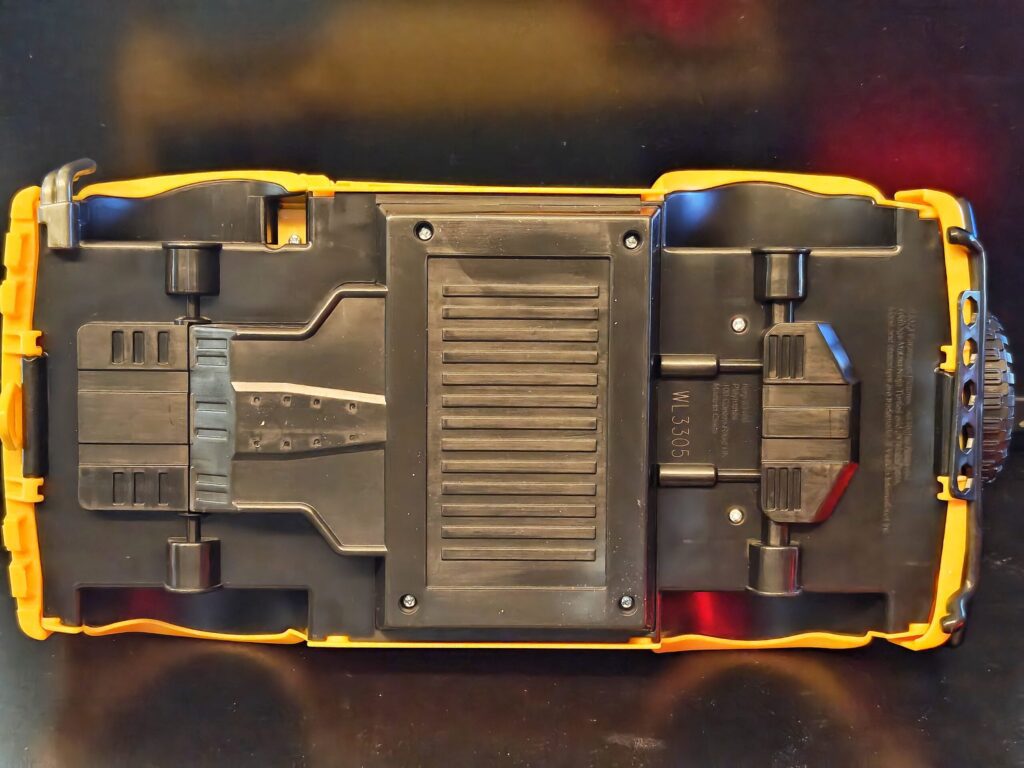
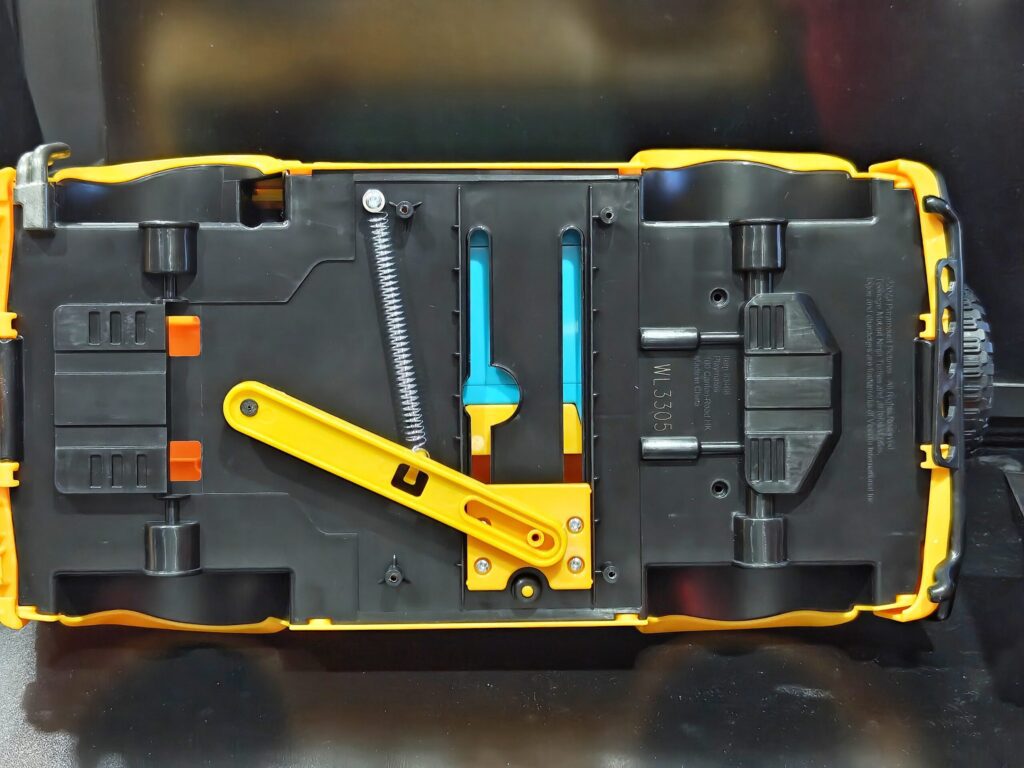
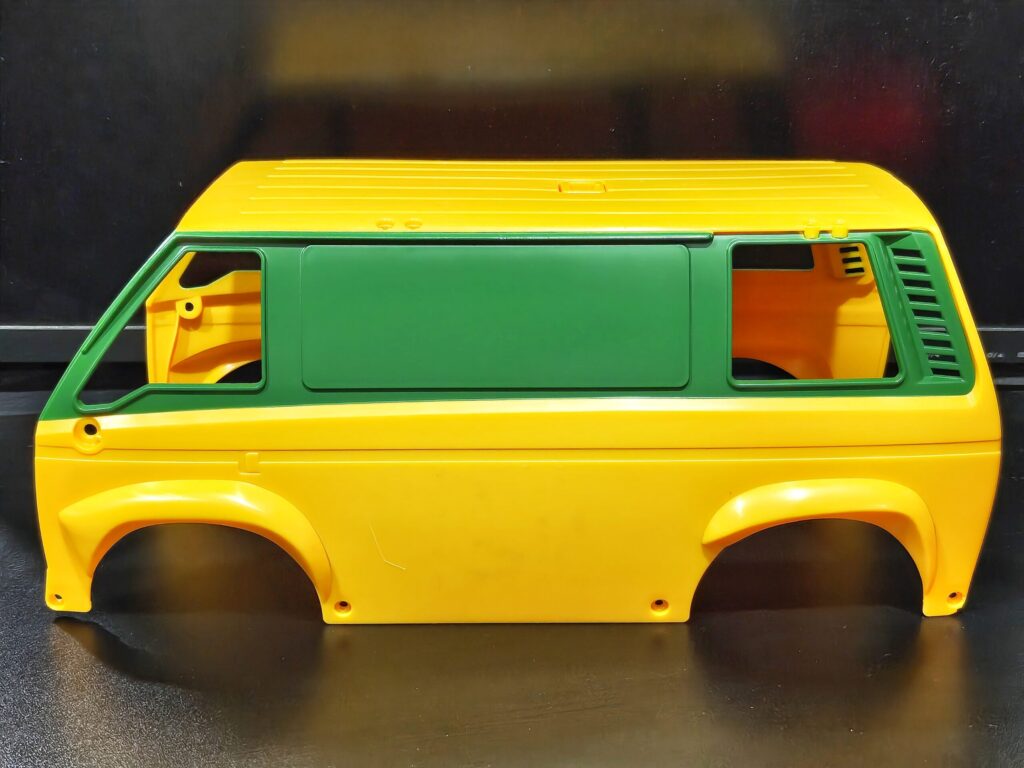
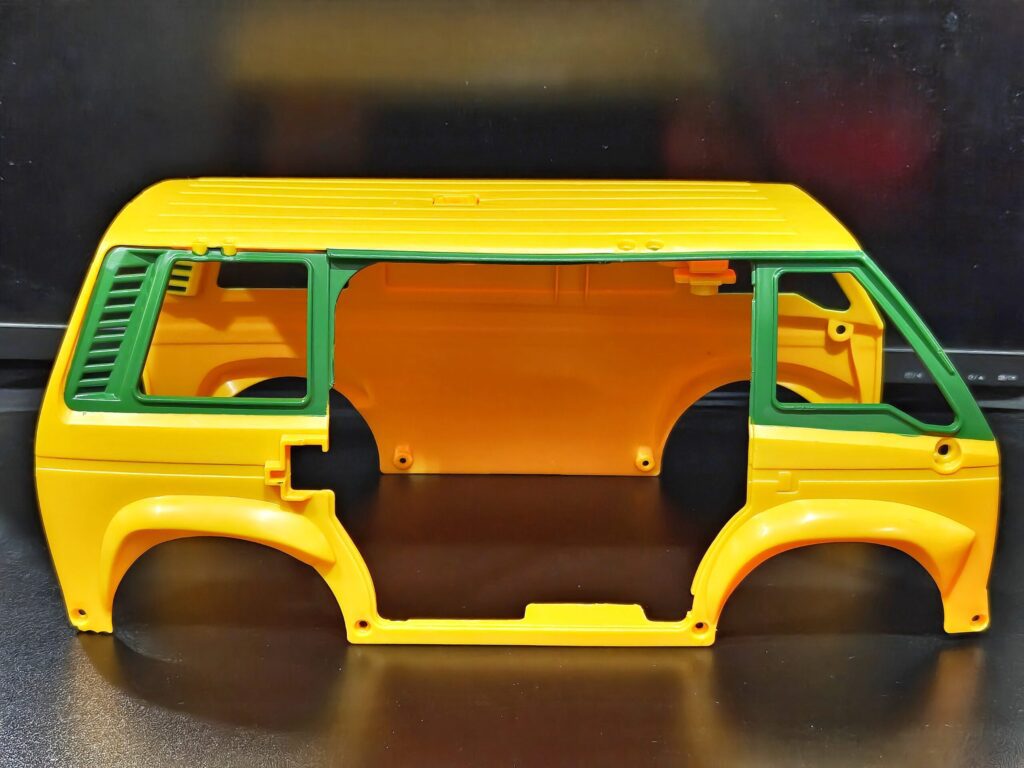
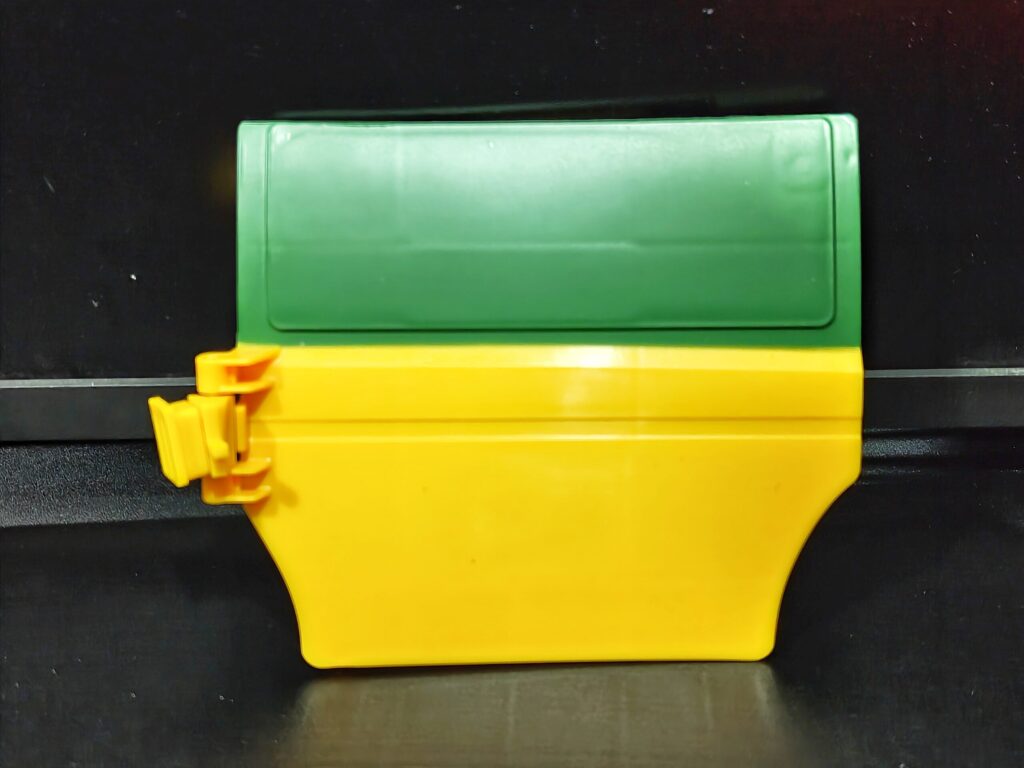
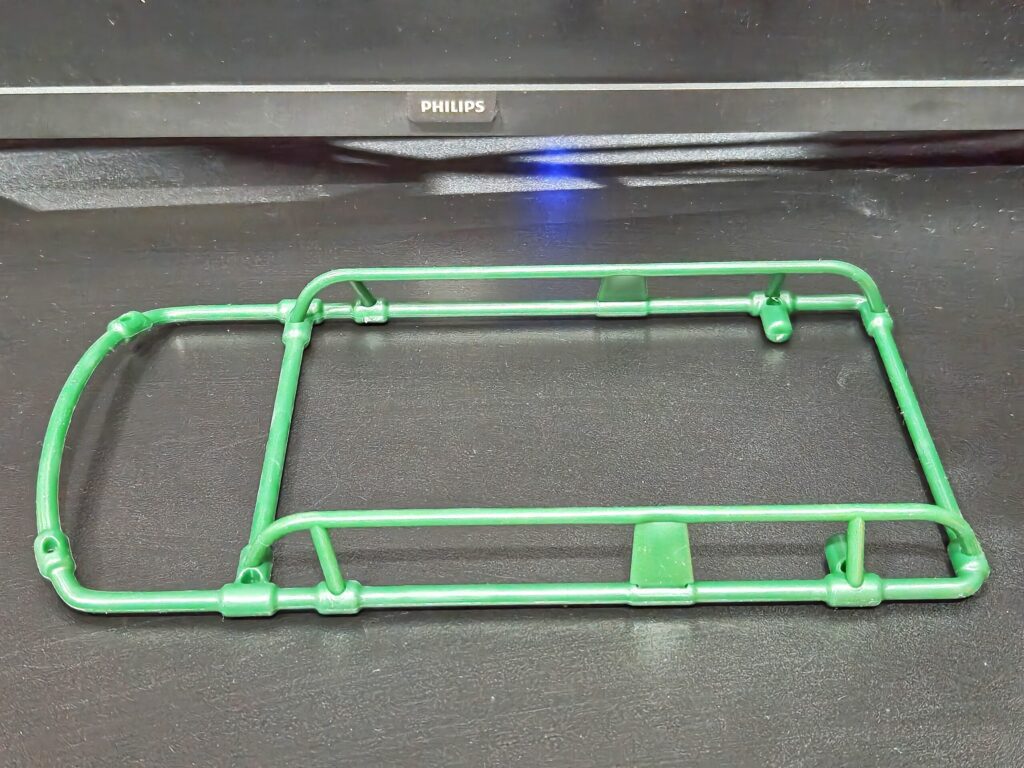
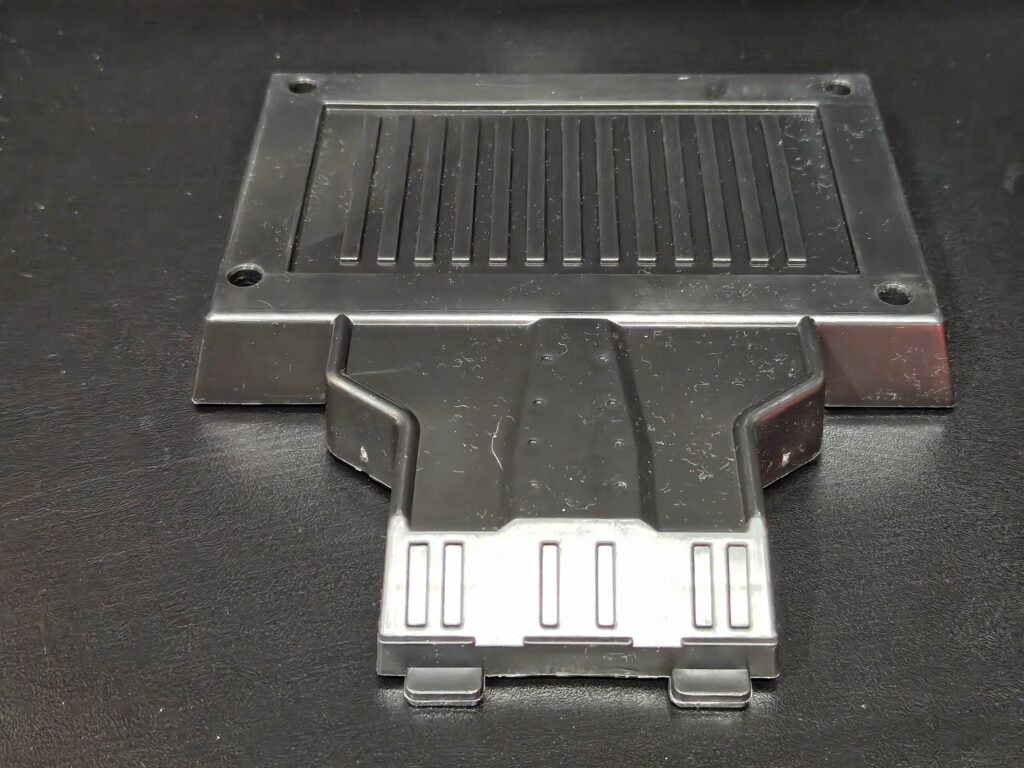
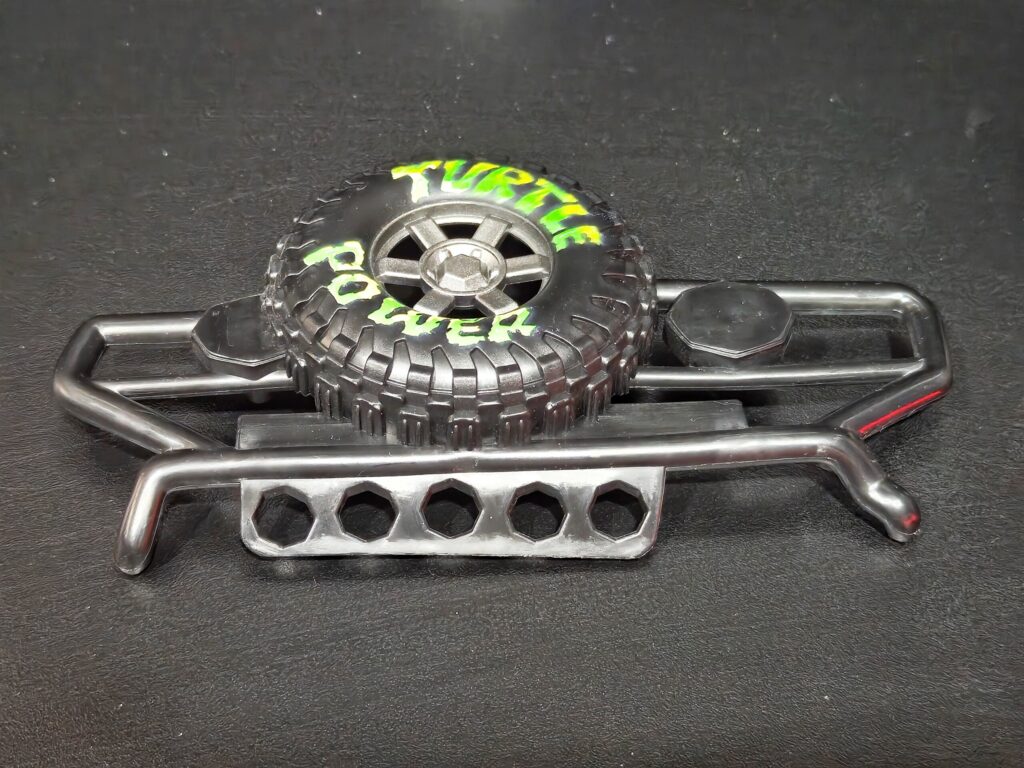
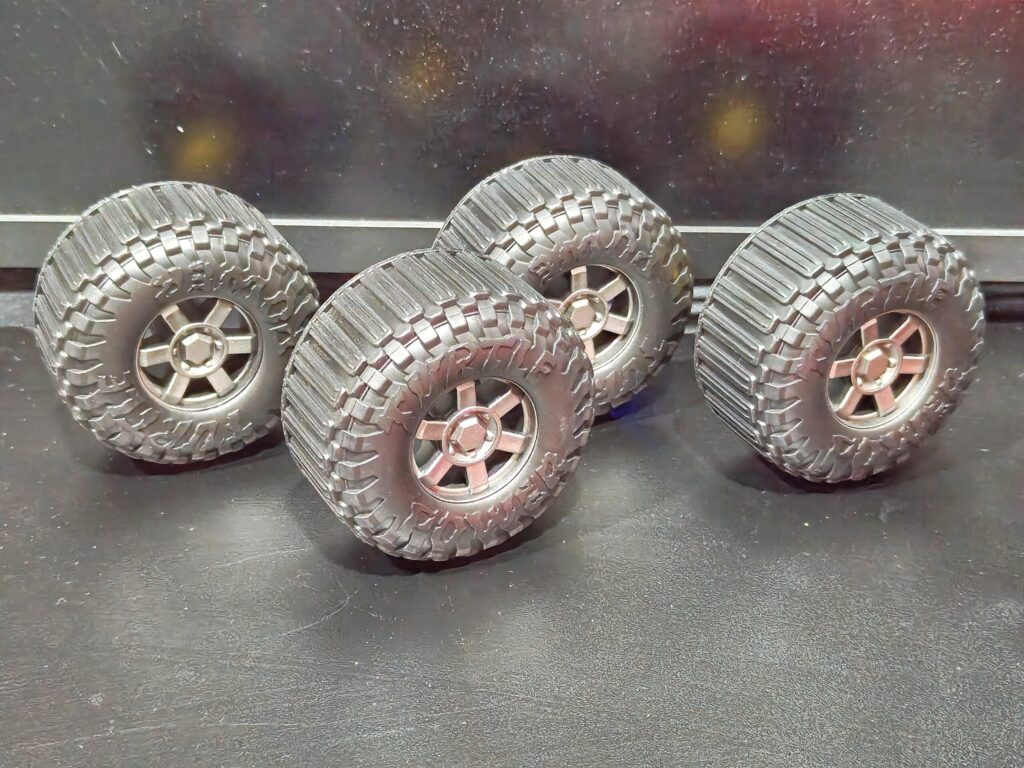
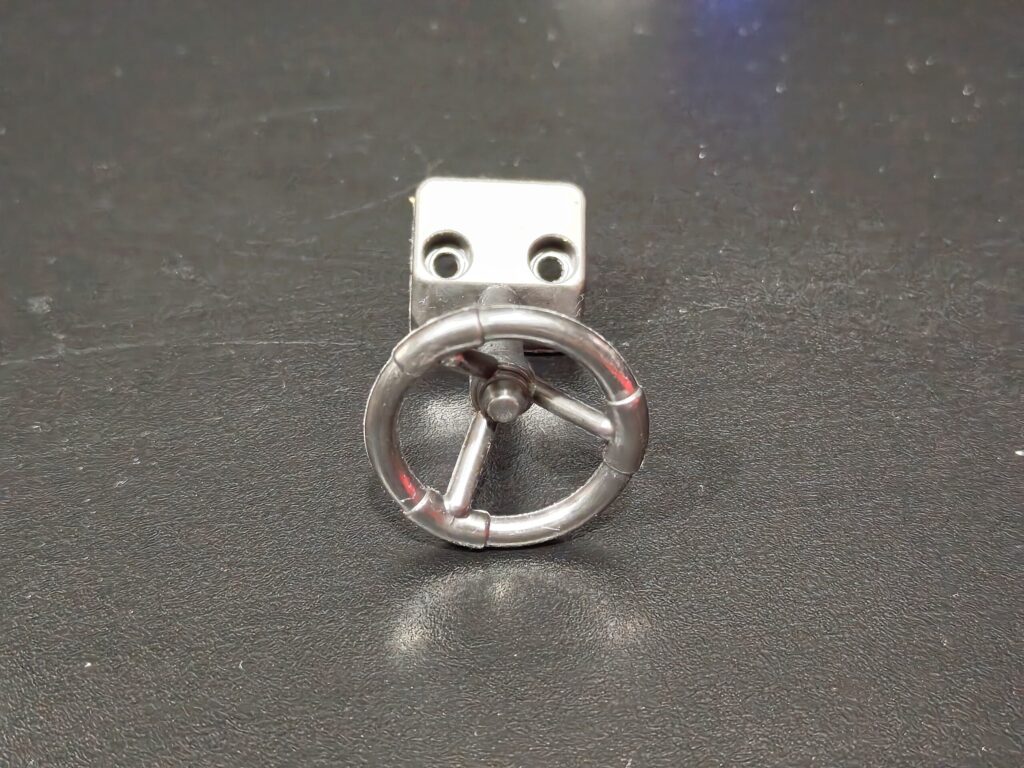
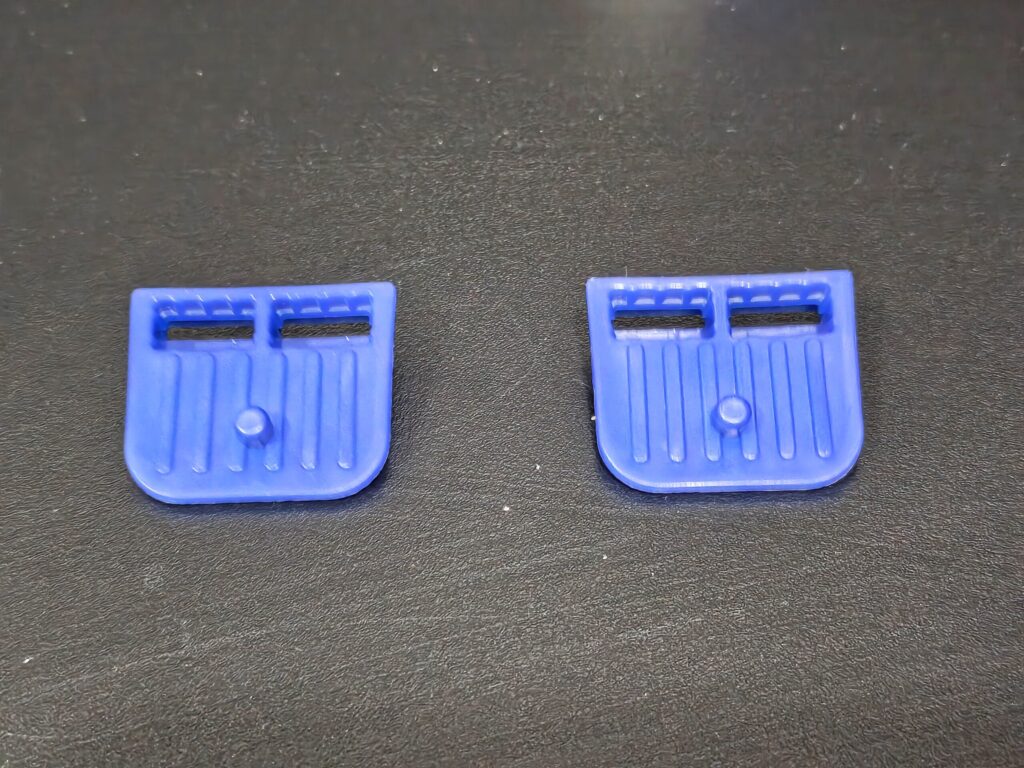
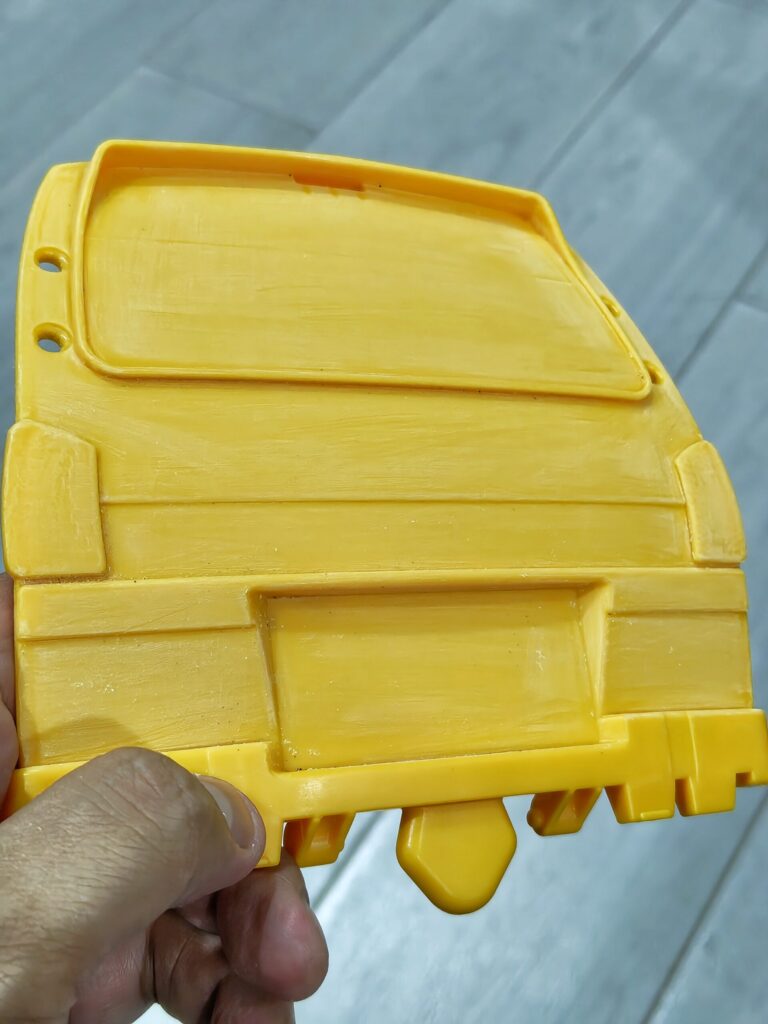
I made sure to familiarize myself with every part of the Pizza Fire Delivery Van right out of the box, including the stickers. This step is crucial because some components need to be disassembled. For instance, I removed the pizza throwing machine inside the van to create more space. Be especially careful if you plan to remove the main door, particularly if you want to preserve it’s spring mechanism. Additionally, certain parts like the front metal bumper, side mirrors, stirring wheel, fog lights, etc., require sanding. Getting to know each piece thoroughly really makes the process smotther. In my case, I took photos of all the parts I planned to work on for reference.
Dismantling
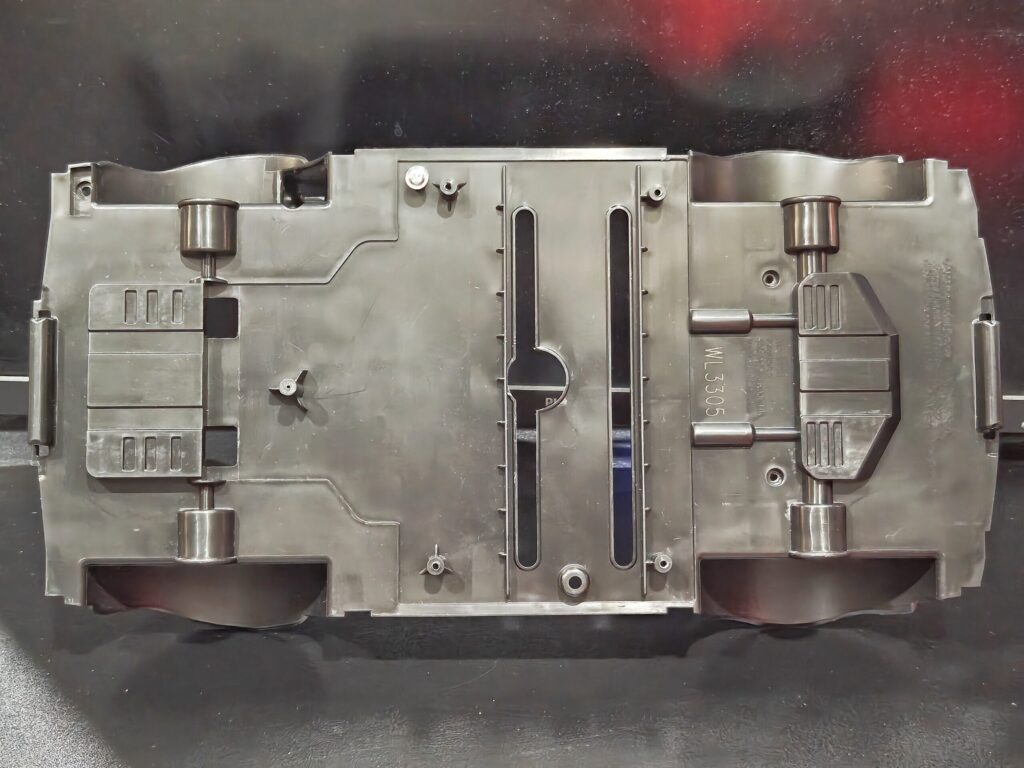
You’ll need to dismantle several parts of the van especially the ones you plan to paint. A Philipps screwdriver is essential as most screws have a cross-shaped slot. I also took photos of the van’s main body from every angle to keep track of where each screw belongs.


Sanding
This stage truy tested my patience. I sanded the parts I planned to paint three times, using sandpaper of different grits. I began with 600 grit, followed by 800 and finished with 1200. This process ensures an ideal surface for the paint, especially the primer to adhere properly.
Painting
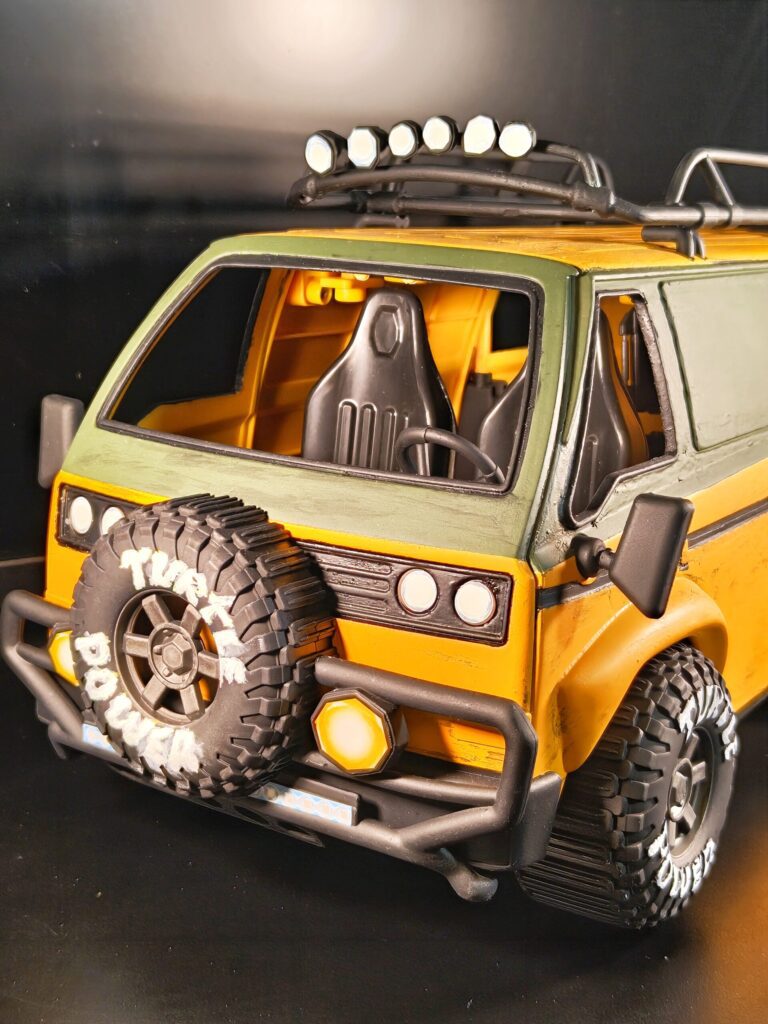
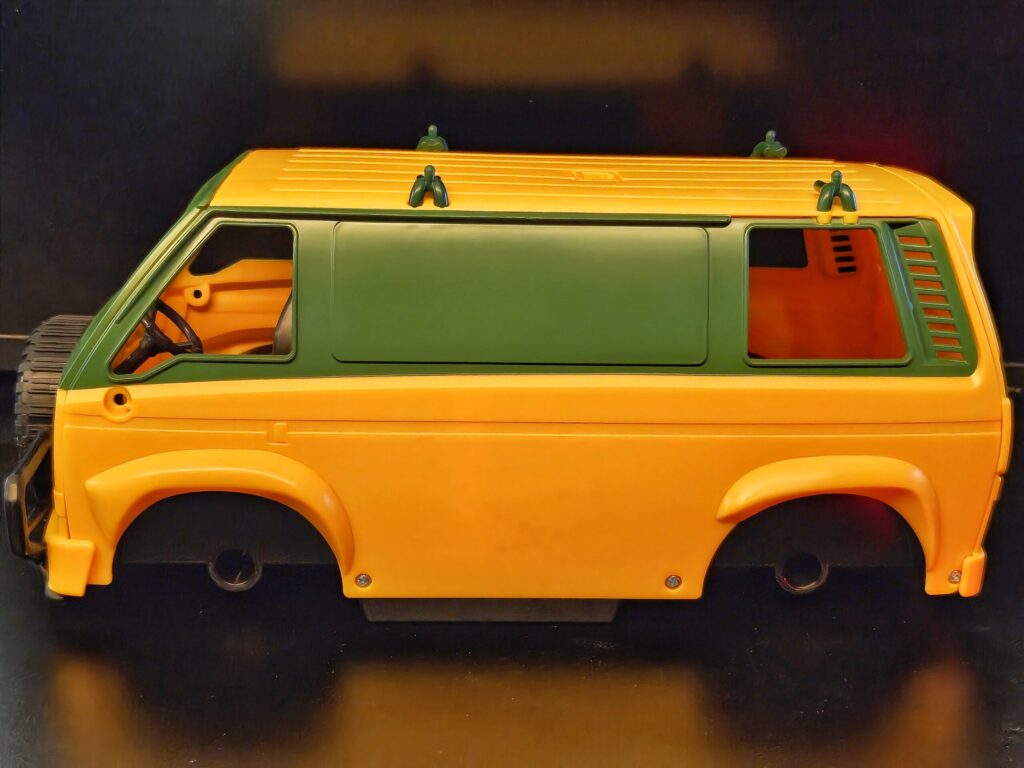
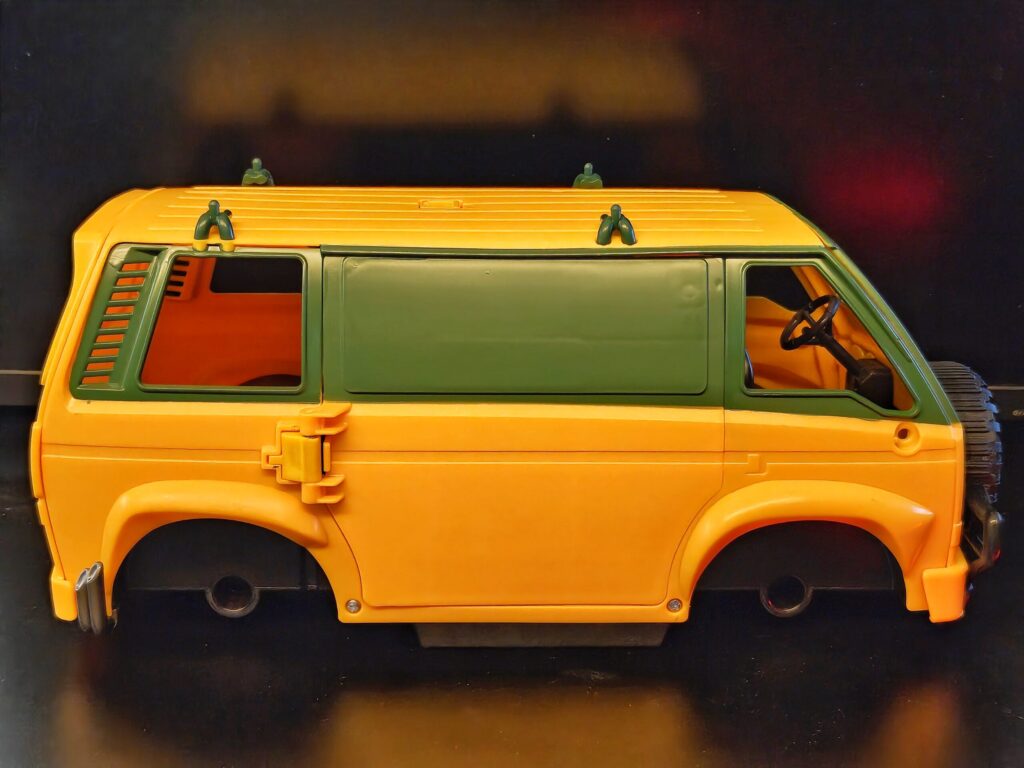
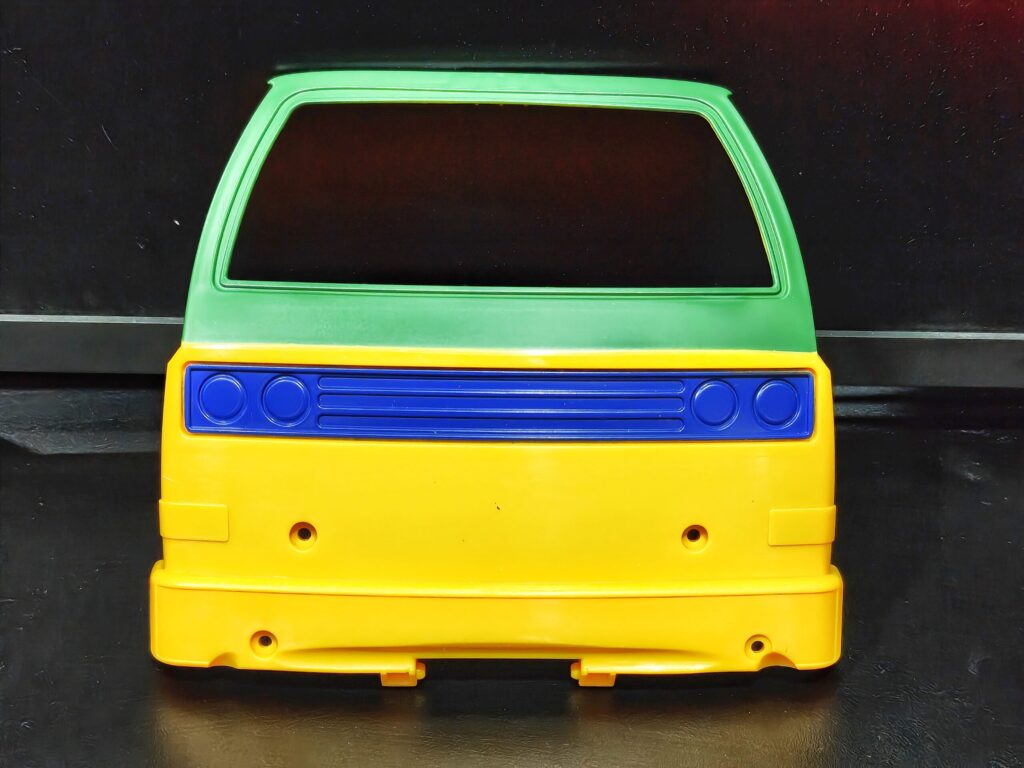
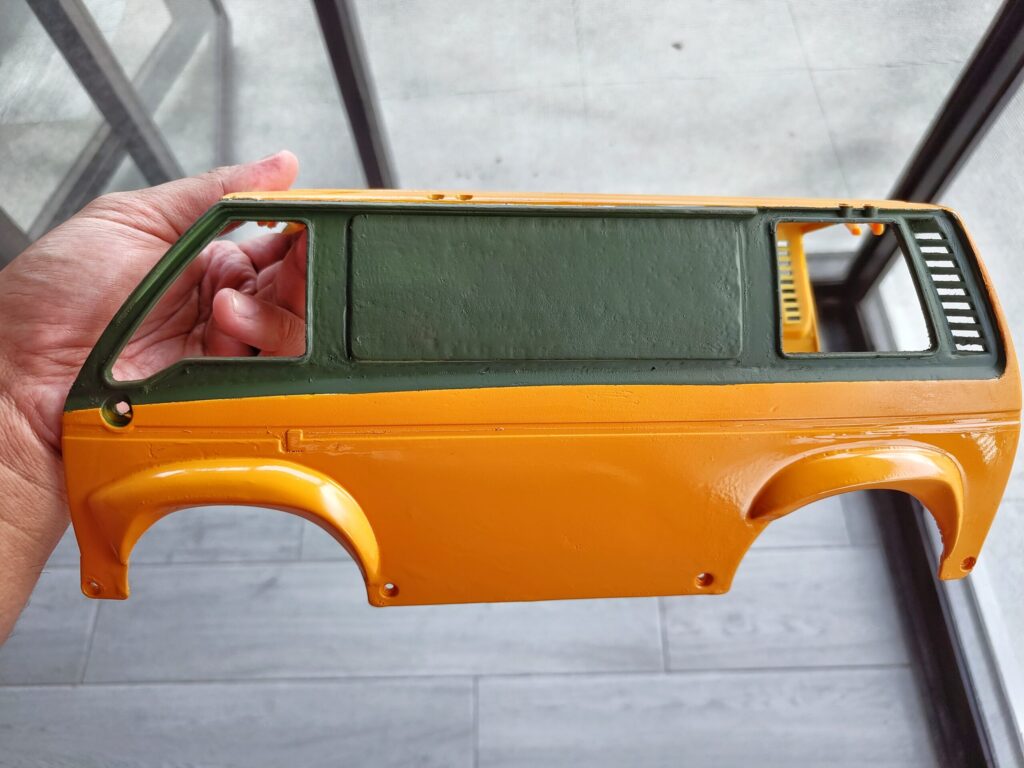
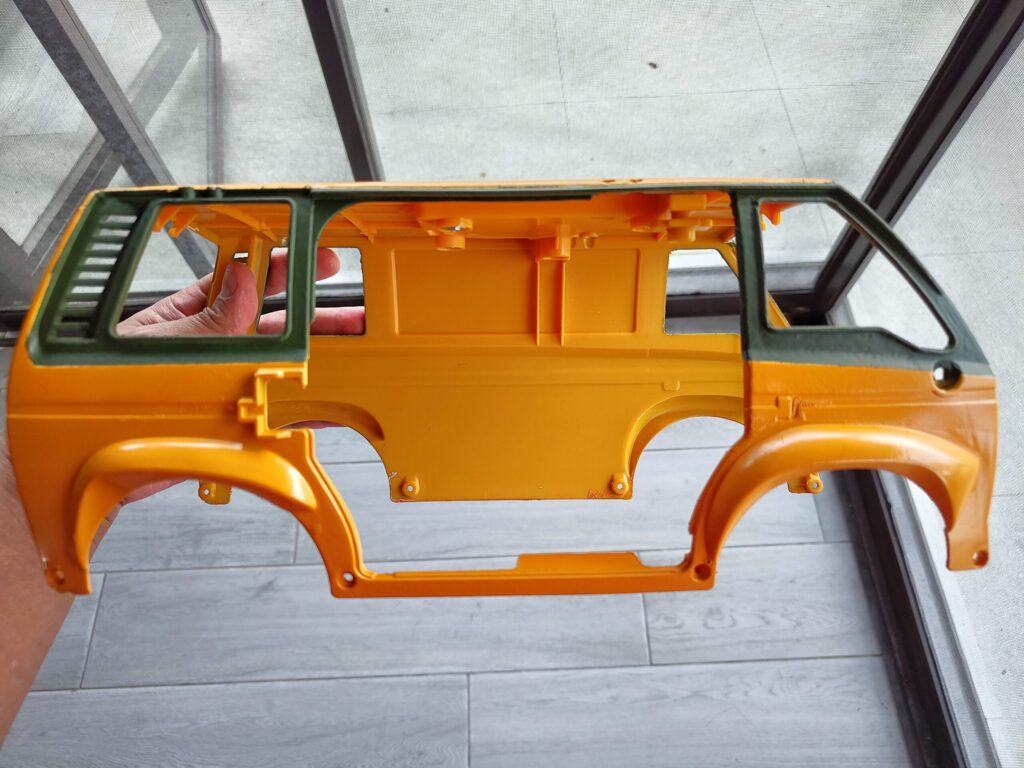
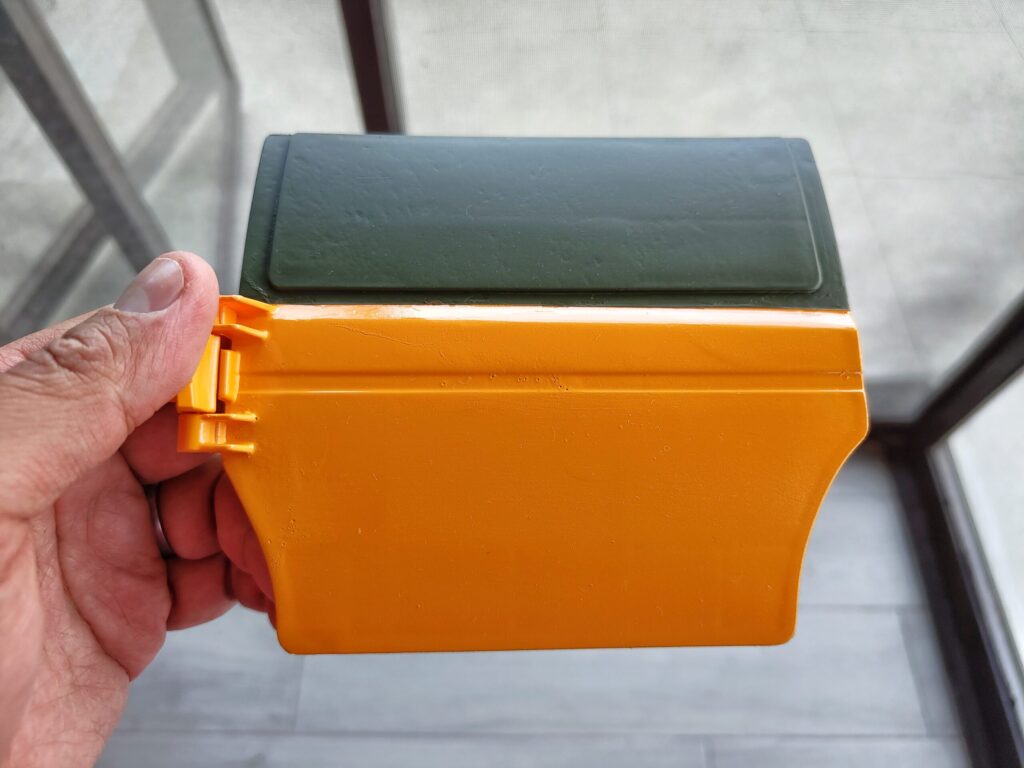
The painting process consists of three key steps: primer application, base color application and top coat application. For the primer, I used white on the colored areas and black on the darker and metallic sections. The Van has two main colors: yellow and green. I used Tamiya Camo Yellow and NATO Green spray cans for these. To add depth and a subtle weathered effect, I applied a mild wash. Finally, I sealed the paintwork with a matte clear finish for the top coat.
Assembly
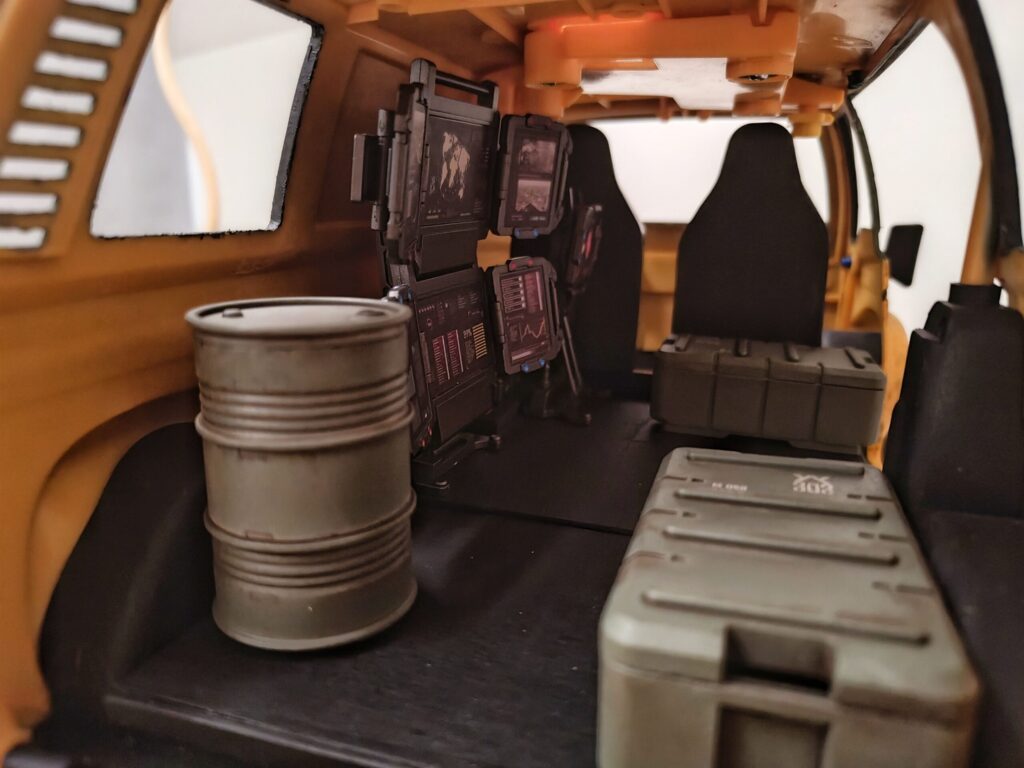
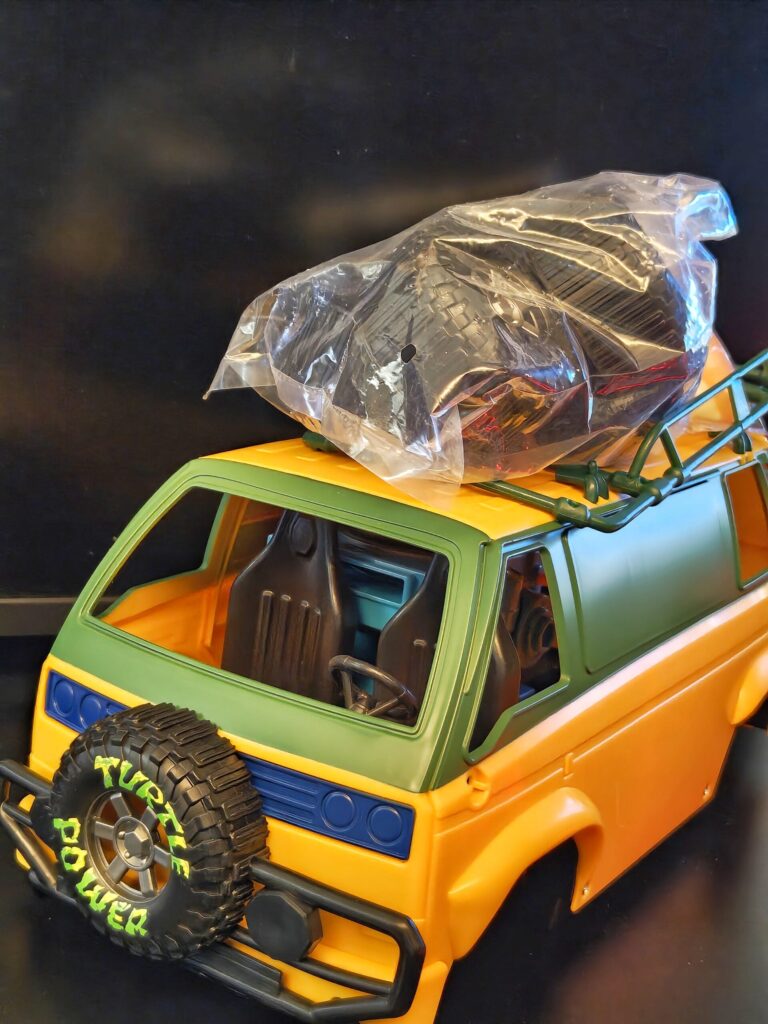
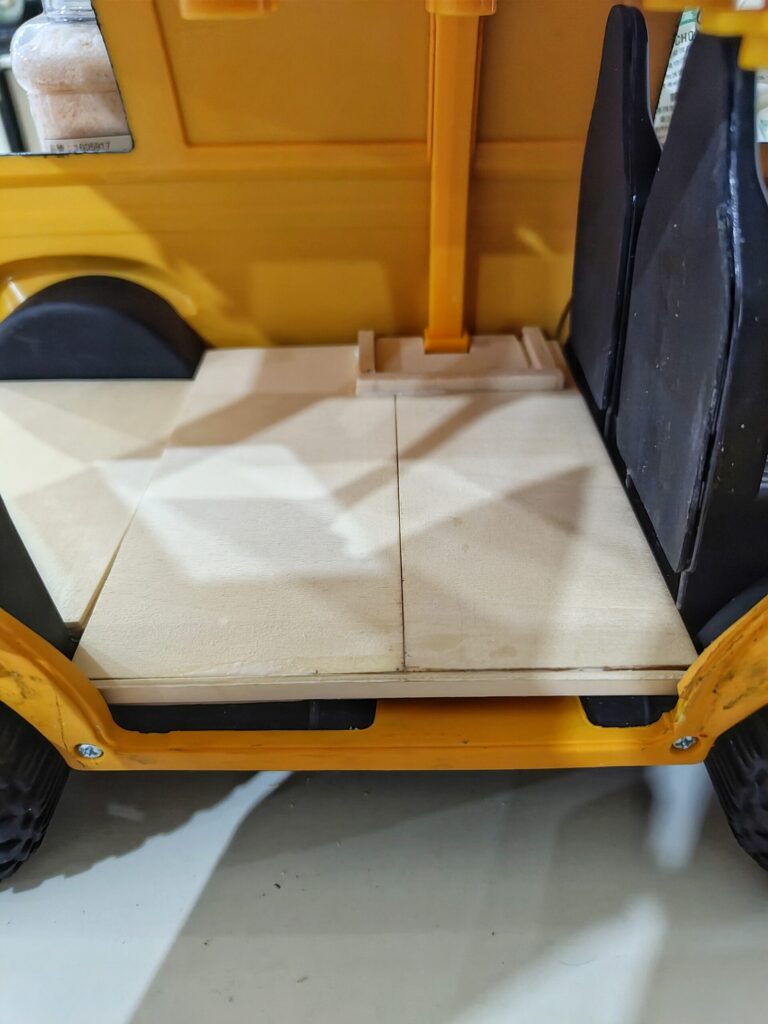
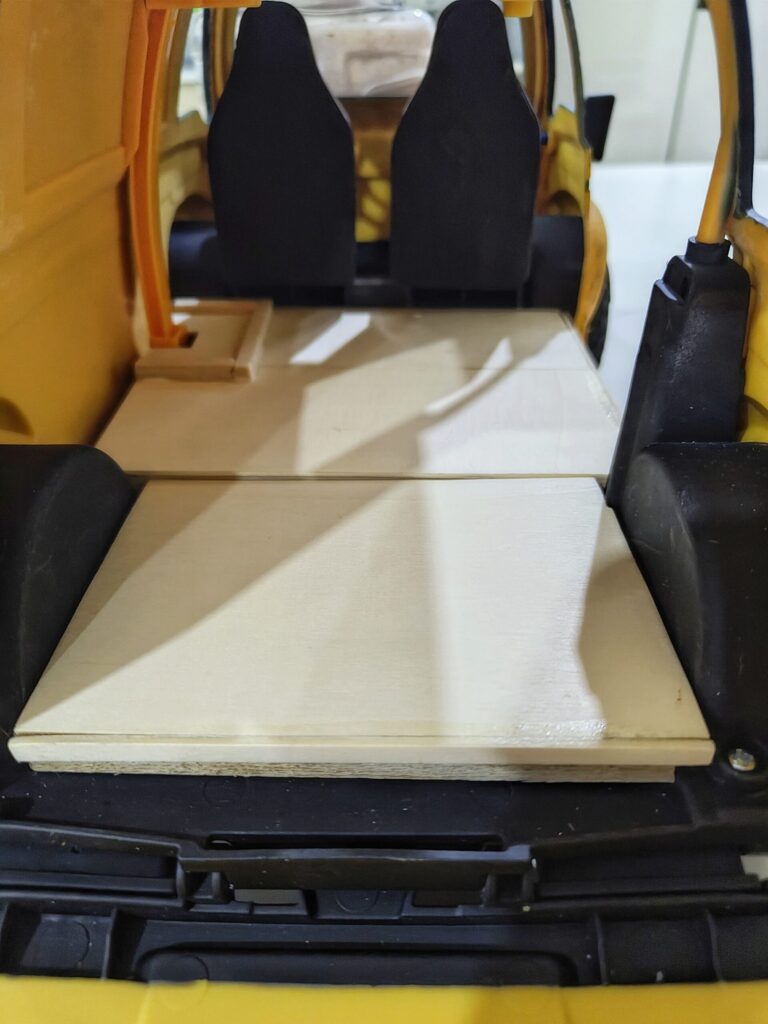
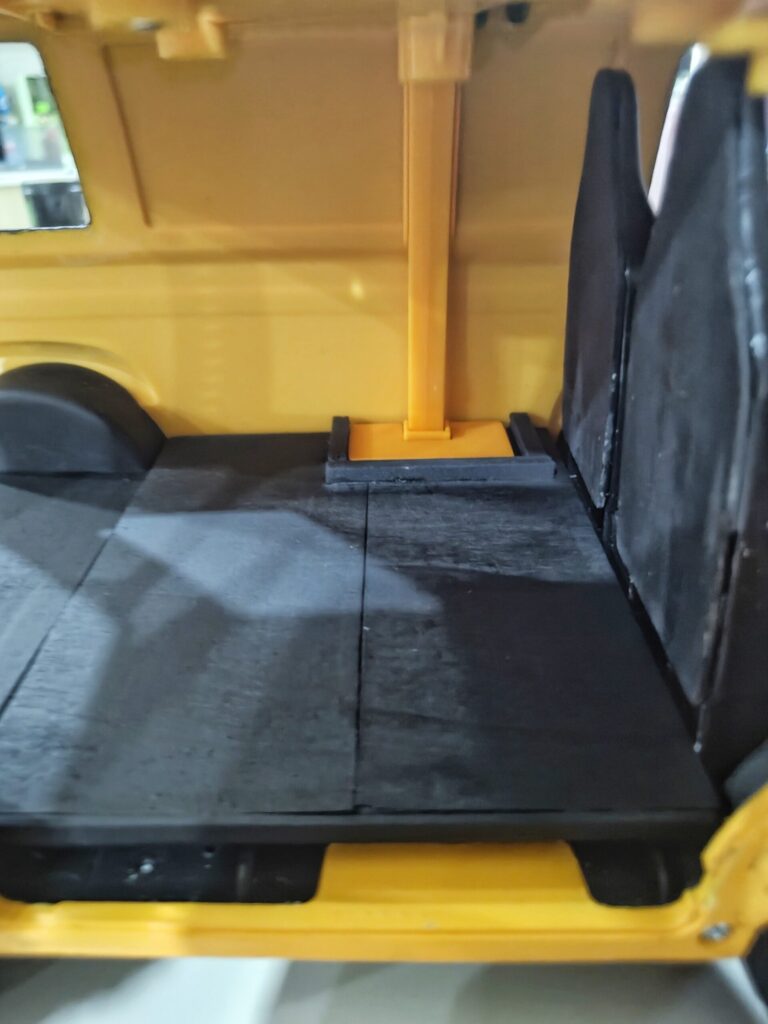
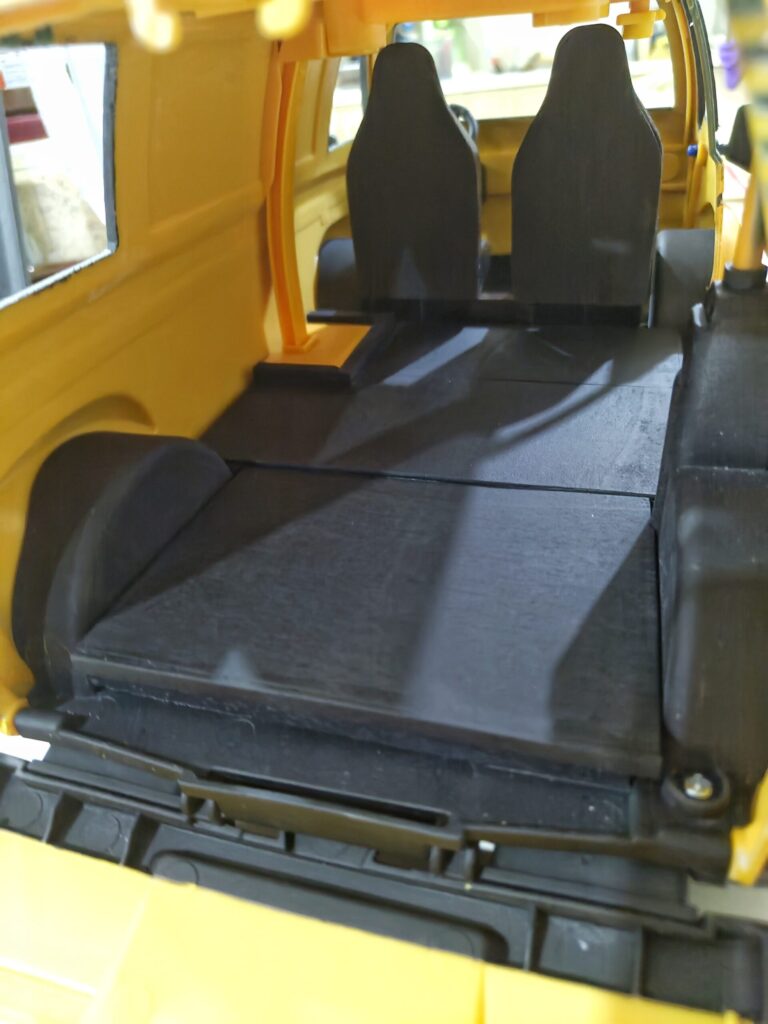
Putting it all together took three key steps. First, I reassembled the Van’s body, doors and other components. For the interior, I aimed for a smooth, flat surface to conceal the chassis’ mold lines. To achieve this, I crafted the flooring from balsa wood and painted it black. I also covered the back of the car seats with balsa wood and painted them black for a cohesive look. By the way, I moved the car seats about 2 cm. backward to make enough space for the Turtles to sit comfortably. Lastly, I added various accessories inside to make it look realistic. These are mostly 1/18 scale items I previously used for my JoyToy figs.
This project was both fun and frustrating at times but overall, I’m pleased with the outcome. I can’t wait to shoot this alongside my Mezco Turtles once I unbox them. Stay tuned, folks!